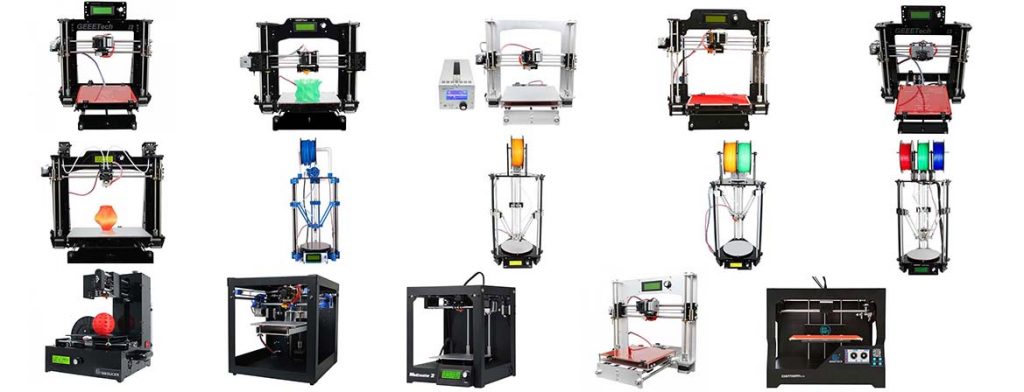
Lately, I’ve been addicted to researching Chinese 3D printing brands that took the market for 3D printing by storm. The reason for this is a wide variety of geeetech 3D printers that these companies manufacture and the lack of information and comparison of the models. If you’re a regular here you probably read my Anet, […]
Search Results for: filaments
In-Depth Review: Flying Bear DLP 3D Printer (Shine UV Resin Color Touch Screen)
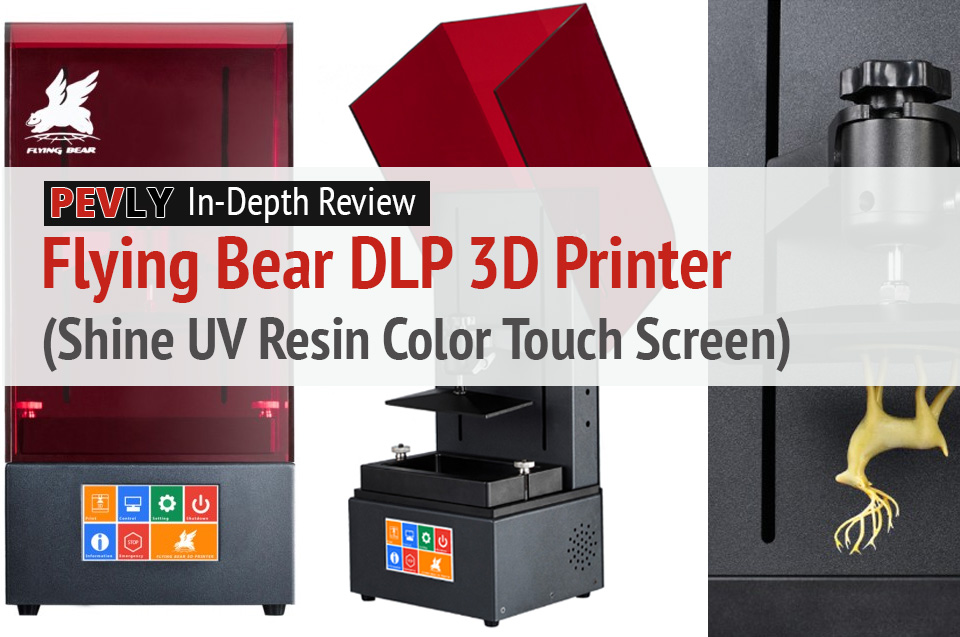
3D printing has been a wonderful hobby. The kids like it, the wife not so much. But she tolerates it because she knows anything positive to take my mind off my chronic pain is a good thing. I can only do so much at a time, but it’s better than nothing. Until now it has […]
The Tevo Michelangelo 3D Printer: A Review
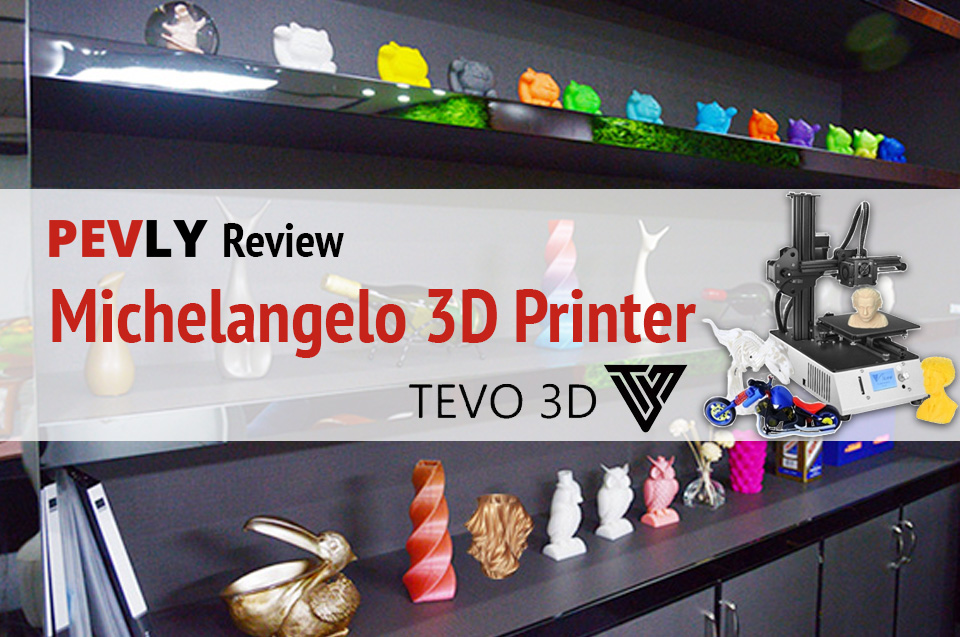
I’m the type of person who thinks BIGGER is always better. When it comes to 3D printing I select mostly large volume printers. Then I got this little printer sent to me from Tevo for a review. The Michelangelo has a build volume of 150X150X150. This little guy has changed my mind! The great thing […]
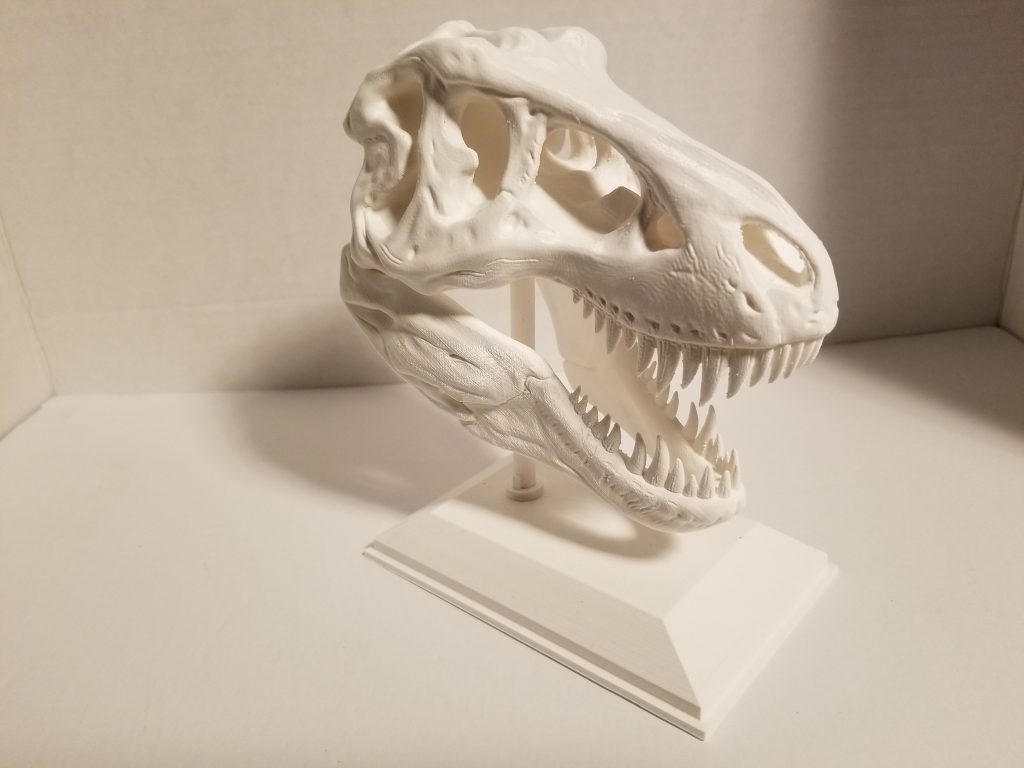
NEAT PLA Filament (In-Depth Review)
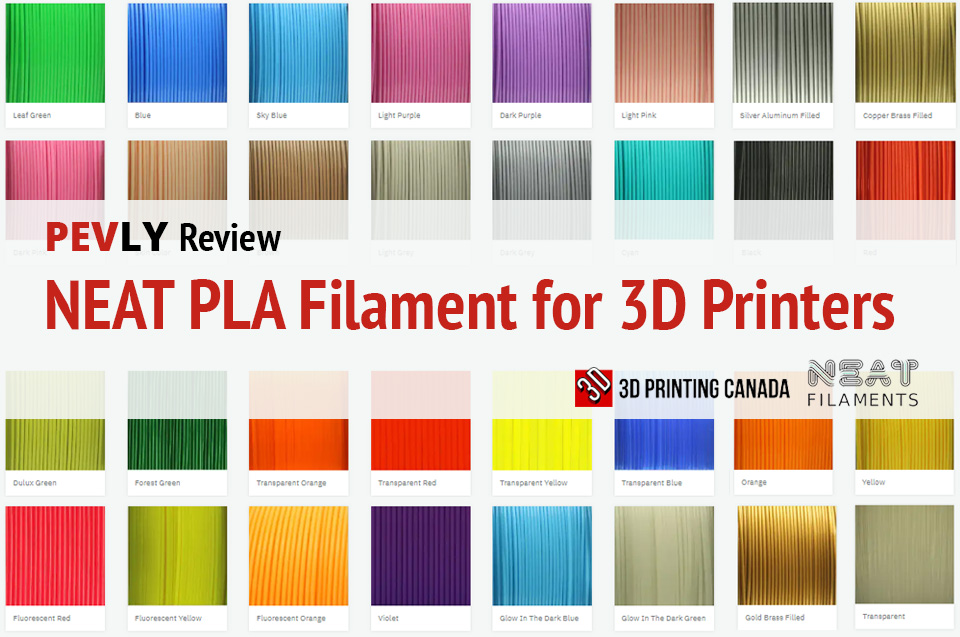
Reviewing filament for 3D printers has opened my eyes to all the possibilities of PLA (Polylactic Acid) filaments. Typically I would just order whatever is cheap and be done with it. Thanks to 3D Printing Canada I found there are much better products available in the same price range. For instance, the other PLA filament I […]
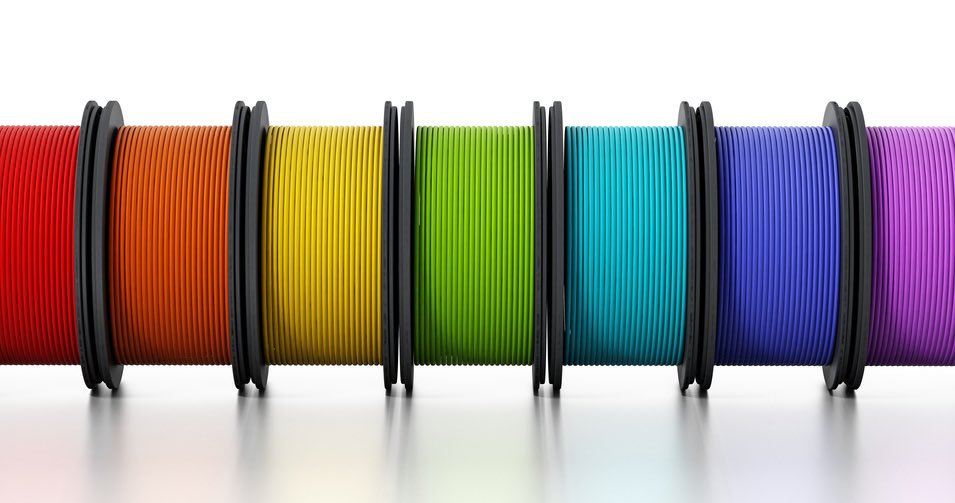
3D Printing Canada Select PLA Filament Review
3D Printing Canada With the sudden popularity in 3D printing there has been a race to create the perfect plastic material. Back when it was starting to go public there was only one big type and that was ABS (Acrylonitrile Butadiene Styrene), which is strong but hard to print with because of its shrinking factor. […]
3D Printing Canada Filament Review – Wood, TPU, PETG
I’ve been very interested in 3D printing for a few years now. I enjoy reviewing printers because it gives me a chance to see new printing technology, but also lets me see how companies differ on the same technology. For instance the different types of hotends. I have used many different types and brands of […]